■ 내용 살펴보기
▥ 문서객체 조작
- DOM : Document Objects Model (문서 객체 모델)
- <!DOCTYPE html> : html5문서를 의미
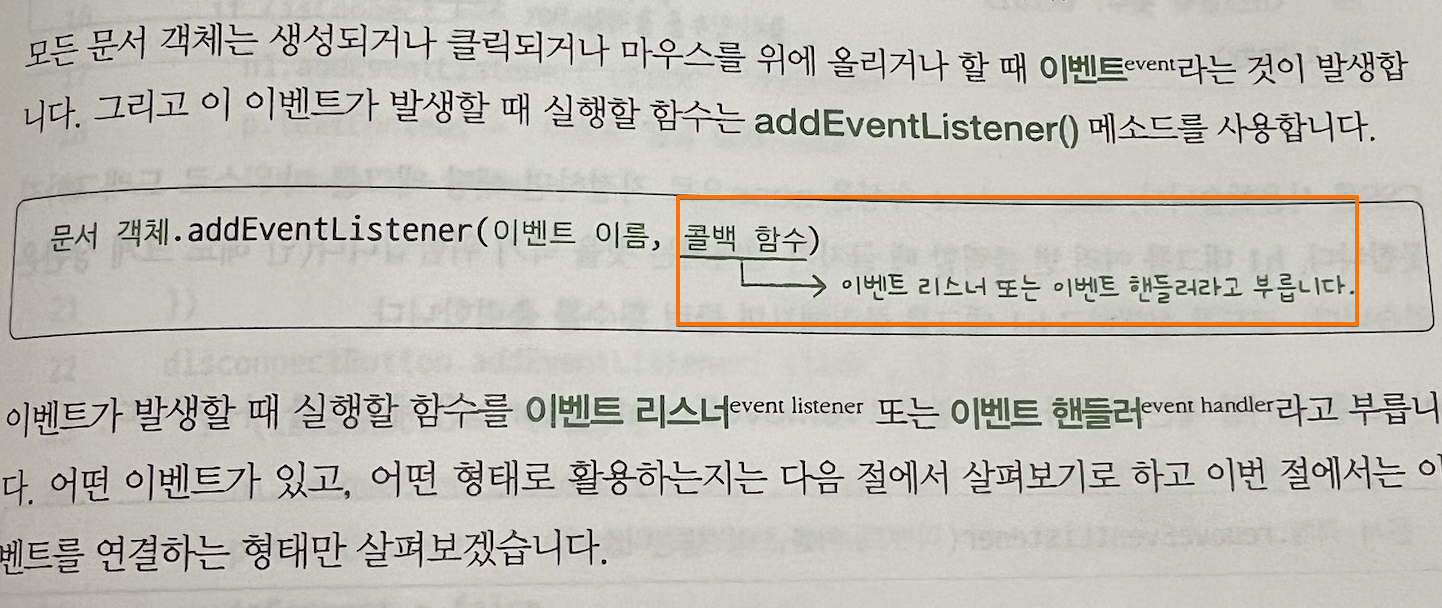
// addEventListener : DOM 즉, document에 이벤트 추가
// DOMContentLoaded : html이 모두 loading된 다음에 이벤트 수행
// DOMContentLoaded는 html5에서 추가된 이벤트 (구버전에서는 사용불가)

document.addEventListener('DOMContentLoaded', () => {
    document.body.innerText = "addTextTest"
})
// p.310
// 책에서는 document.를 사용했는데, 잘 동작을 안하네.
// 이전 브라우저에서 지원을 하기 위해서는 onload를 사용하면 된다.
window.onload = function (){
    document.body.innerHTML += "onload ADD"
}
window.addEventListener('load', () => {
    document.body.innerText += "onload ADD2"
})
document.querySelector("body > div")형태로 구성해서 식별할수 있습니다.
<!DOCTYPE html>
<html lang="en">
<head>
    <meta charset="UTF-8">
    <title>aa</title>
    <script>
        // 요소 하나만 추출
        document.querySelector("선택자")
        // // 문서 객체를 여러개 추출
        document.querySelectorAll("선택자")

        document.addEventListener('DOMContentLoaded', () => {
            // 일반적으로 query를 해서 조작을 해서 사용을 합니다.
            const q1 = document.querySelector("h1");
            q1.textContent = "텍스트"
            q1.style.color = "red"
            q1.style.fontSize = "30px"

            // forEach 안에 구성은 value, index, array이고
            // 이름은 크게 상관없는것을 보여주고 싶었다.
            // 보통 selectAll로 추출한 사항은 forEach로 처리한다.
            const q2 = document.querySelectorAll('span')
            q2.forEach( ( anythins_good ) => {
                anythins_good.style.color = "blue"
                anythins_good.style.fontSize = "35px"
            })
        })


    </script>
</head>
<body>
<h1>1</h1>
<h1>2</h1>
<h1>3</h1>

<span>a</span>
<span>b</span>
<span>c</span>
</body>
</html>
위 코드를 실행해보면, querySelector를 이용해서 아래와 같이 변화를 한다.

아래 선택자 형태는 jquery에서도 동일하게 사용이 된다. 중요한 부분이다.

const a = document.querySelector('#test_id');

// [#text, html 조작하기]
// 이렇게 어려개 사용하면, 미자막 사항이 사용된다.
// Text
// -> textContent은 IE9부터 지원하는 요소
// -> innerText는 성능 문제 있음
// Html
//  -> innerHTML
a.textContent = 'textId'
a.innerText = "aaaa"
a.innerHTML = "<b>bbb</b>"

// [#속성 조작하기]
// 속성에서는 html요소가 다된다 src, width, style등등 다 됩니다.
a.setAttribute("속성이름", "값") // set설정하기
a.getAttribute("속성이름")      // get가지고 오기
a.setAttribute("style", "font-size: 100px;")
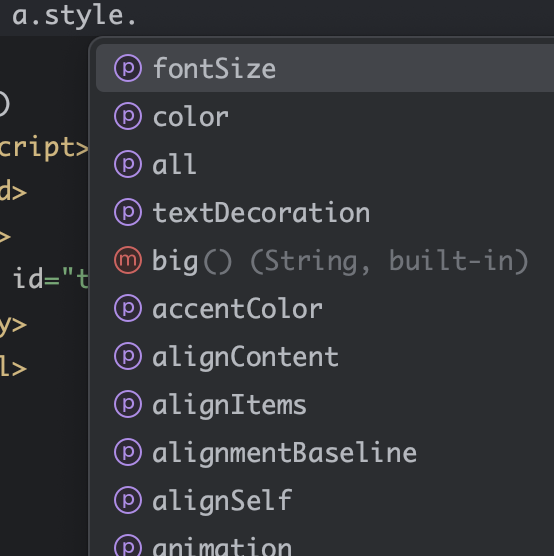
▥ 스타일 조작하기
화면에 보여주는 요소를 handling하는 방법은 매우 많이 사용됩니다.
style속성은 객체이며, 내부에서 속성을 다양하게 사용합니다.
style객체를 이용해서 아래 처럼 다양한 속성을 이용합니다.

다양한 방법으로 style을 변경할수 있습니다. (그래서 혼돈되는 부분도 있습니다.)
아래 제시한 h1.style.backgroudColor형태에 익숙해지는것이 좋습니다.

▥ 문서 객체 생성하기
const aa = document.createElement("문서객체이름")
const bb = document.body.appendChild("자식객체")

const newContent = document.createElement("div")  // div객체 생성
const newContent2 = document.body.appendChild(newContent) // 위에서 생성한 div를 body에 자식처럼 추가한다.
- 삭제
> 부모객체.removeChild(자식객체)
> 문서객체.parentNode.removeChild(문서객체)
▥ 이벤트 설정하기
- 중요한 개념!! (이벤트리스너, 이벤트 핸들러)

- removeEventLinster
▥ 이벤트 활용
- 모든 이벤트 모델의 이벤트 리스너는 첫번째 매개변수로 이벤트 객체(event)를 받는다.
- 이벤트 객체에는 이벤트와 관련된 정보가 있습니다.
- 보통 코드에서 (event)의 매개변수값을 구성하는것이 이것을 의미합니다.
▥ 기타
- css요소 => user-select : none; // 사용자 선택을 막는 역활
보통은 display:none을 이용하지만, 이것을 활용해도 좋을거 같습니다.
■ 기본미션
- 실습해보기
<!DOCTYPE html>
<html lang="en">
<head>
    <meta charset="UTF-8">
    <title>Title</title>
</head>
<body>
<script>
    // addEventListner
    // DOMContentLoaded
    // querySelectorAll
    // http://placekitten.com

    document.addEventListener('DOMContentLoaded', () => {
        const rects = document.querySelectorAll('.rect')        // class요소 전체를 가지고 옵니다.

        console.log(rects)
        rects.forEach((value, key) => {
            const width = (key + 1)  *100
            const src = `http://placekitten.com/${width}/250`
            value.setAttribute('src', src)  // value요소에, document의 setAttribue를 사용할수 있는 객체이다.
        })
    })
</script>
<img class="rect">
<img class="rect">
<img class="rect">
<img class="rect">
</body>
</html>


■ 선택미션


